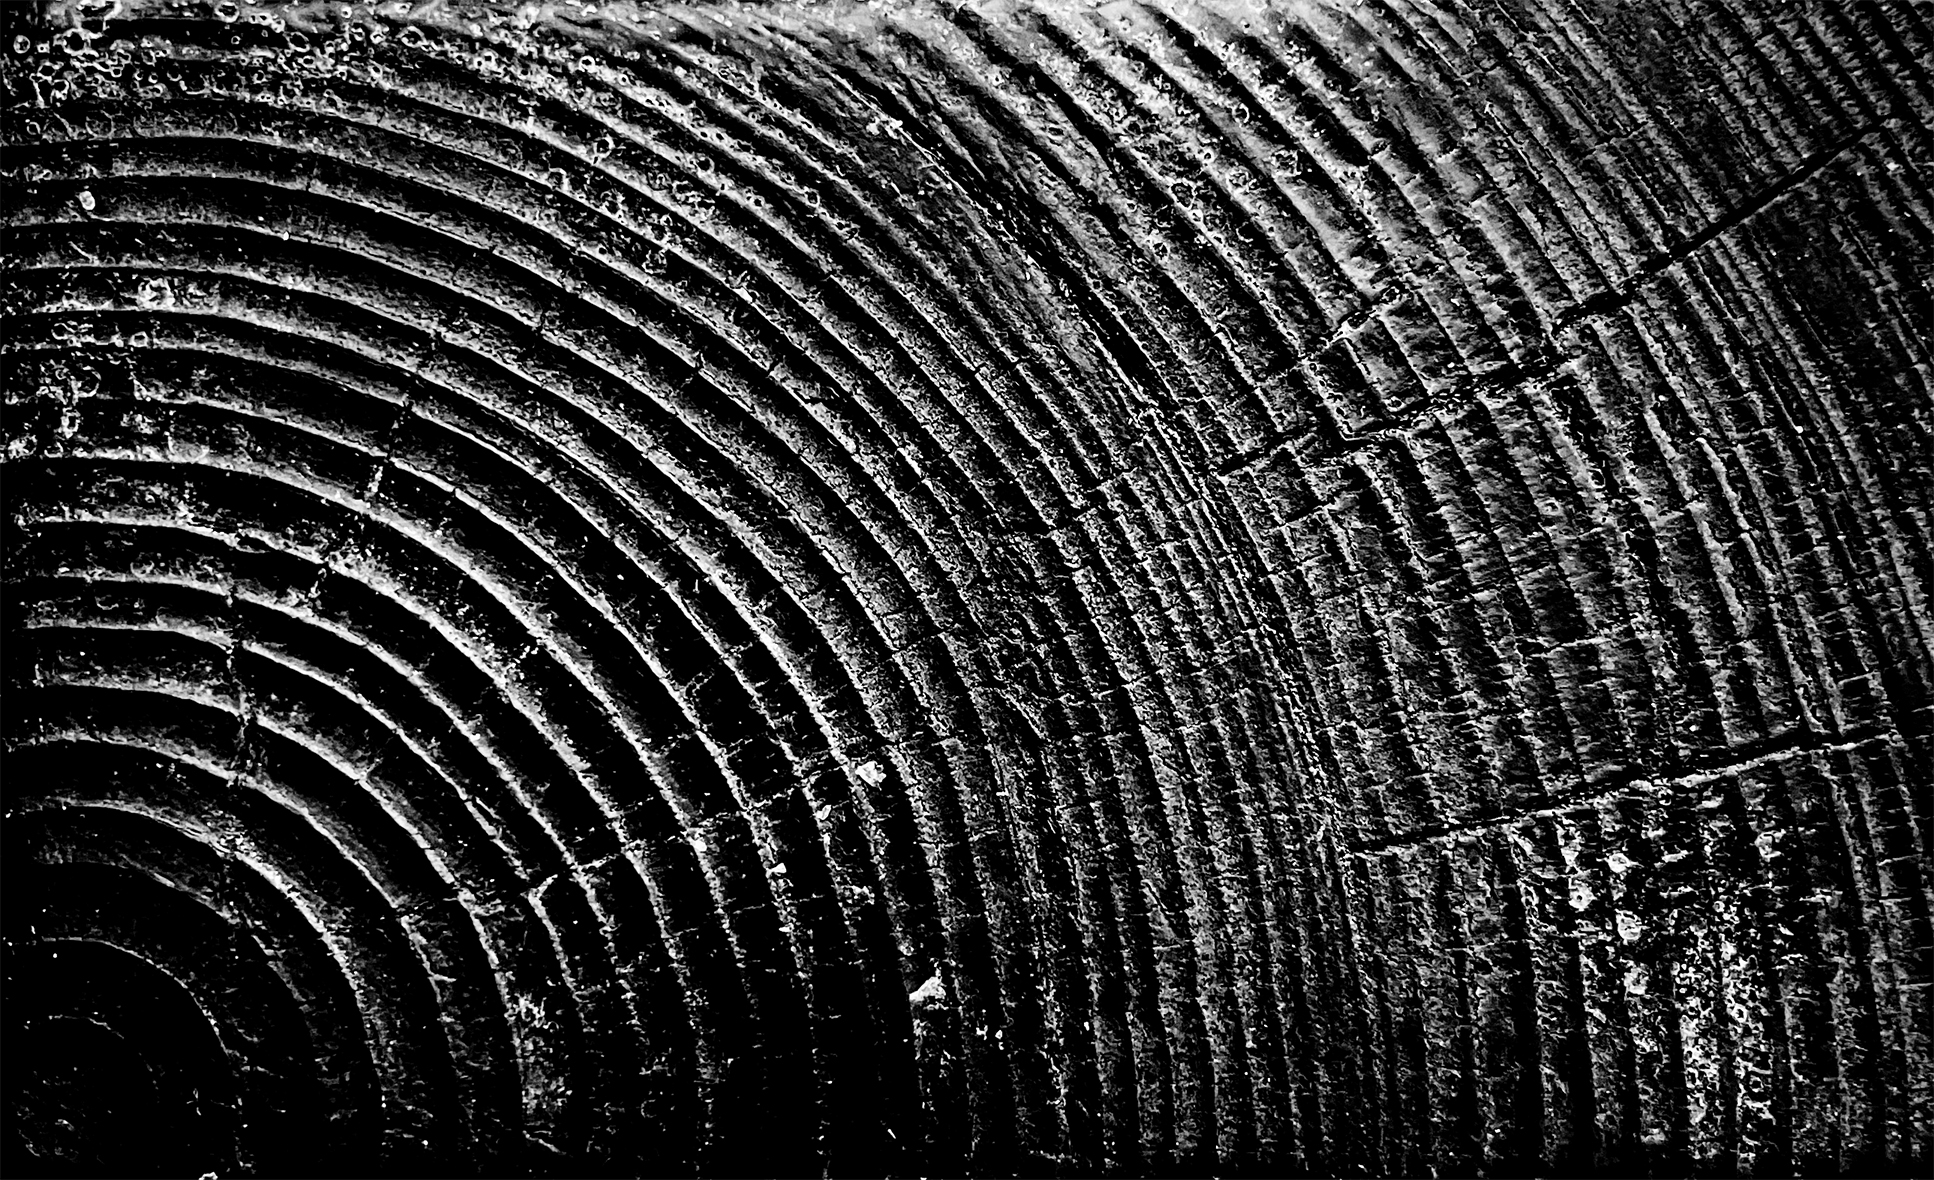
Patterns in nature; a closer look at annual rings inside wood through burning and wax application methods.
Graphic Design - Material Research project 2.2 by Hugo Graap
The burning of wood occurs every day over acres of land around the world, most of which is left behind or used for unsustainable energy by the making of coal. The aim behind this project is to bring forward the beauty of wood even in its lifeless state. Specifically, the interesting visual properties of the growth rings inside wood and how they can be reused to form certain patterns and even letter forms.
Wood is easily recyclable and therefore sustainable to be reused after excess material is forested. It should be our mission to treat wood with caution and seek possibilities for reusing what is already harvested to fuel production and consumption in our modern economies.
So that begs the question; How do we (or I in this case) as creators of our environment transform the left over beauty that is found in nature and make it into something fun and interesting to look at? My goal is to display annual rings in such a way that they can be combined to create imagery pleasing to others. The patterns of annual rings are born from the laws of nature and nature is the greatest designer to exist - it allows seamless combinations and opportunities to create even letterforms.
1. Begin by choosing your wood. Depending on what effect you seek, there are differences in the results of burning hardwood vs softwood when it comes to the depth & definition of annual rings. In summary, hardwoods such as oak, maple, walnut have less defined growth rings. While softwoods such as cedar, pine, and spruce have more defined growth rings.
2. The next step is burning. A regular lighter or matchstick wont do it, you will need to find a strong source of fire such as a kitchen torch, or even better, a propane weed burner. This all depends on the size of the wood you have chosen.
3. Once you have found a tool for burning, first make sure your wood piece is flat and that the growth rings can be identified visually. When burning, do not overdo it, go in a stable motion either up and down - side to side, or in circles hovering over the wood. Do two to three rounds of this. Once the wood has been charred so that it is completely black, turn off the fire and use a hard brush such as a metal brush or anything with stiff bristles.
4. This will remove any of the sapwood *softer cellulose between the rings, to further define the growth rings in your piece. Once you have done so, you will notice that the black color will have faded to a dark brown most likely. If you desire a blacker finish, it is advised to do another round of burning and repeating the brushing step.
5. Lastly, when you are happy with the outcome from burning and brushing, you will need to choose between either melting some white wax, or buying a liming wax in your local hardware store. The use of wax is in this case chosen because the woods rings are still not defined enough to stand out from the rest of the wood. Therefore, the white characteristic of wax applied onto the burned area, will lift the black rings while lightening the areas in between them.
Use a hard bristle brush and do it a couple times until you are happy with the result!

Context and background
Click here to see my 5 highlights